Portable Hacking Station - (Parrot Raspberry Pi)
Building your own portable Parrot Raspberry Pi is a good option if you want to do Wardriving, WiFi audits (with proper permission, of course), or simply have a cheap hacking station. This do-it-yourself project combines the Raspberry Pi’s power and flexibility with the robust security tools of Parrot OS, allowing you to conduct security assessments and wireless network analyses on the go.
Prerequisites
- Raspberry pi 4 or greater with at least 4GB of RAM is recommended.
- Parrot OS Raspberry Pi Image
- BalenaEtcher
- External Network adapter (Mine is Atheros)
- Power supply adapter
- microSD card
- Portable battery pack for power on the go (optional)
- Case or enclosure for the Raspberry Pi (optional)
Setup
1 . Download Raspberry Pi Parrot OS Image
2 . Mount the micro-SD card then flash the image using BalenaEtcher.
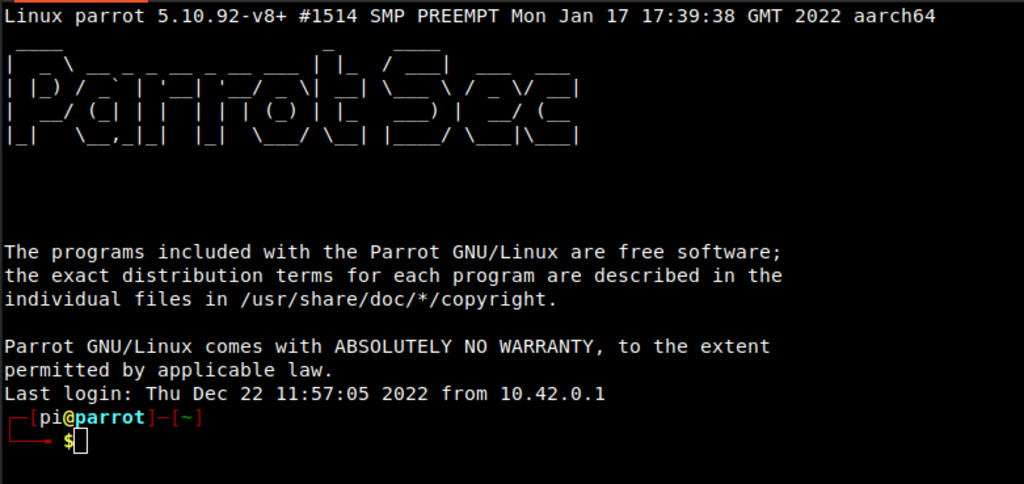
3 . Insert the micro-SD card into the Raspberry Pi and power it on to access Parrot OS.
(Remember to change the default credentials) Default credentials: user: pi password: parrot
After accessing Parrot OS, you can update and upgrade the system by running the following command:
1
sudo apt-get update -y && sudo apt-get dist-upgrade -y
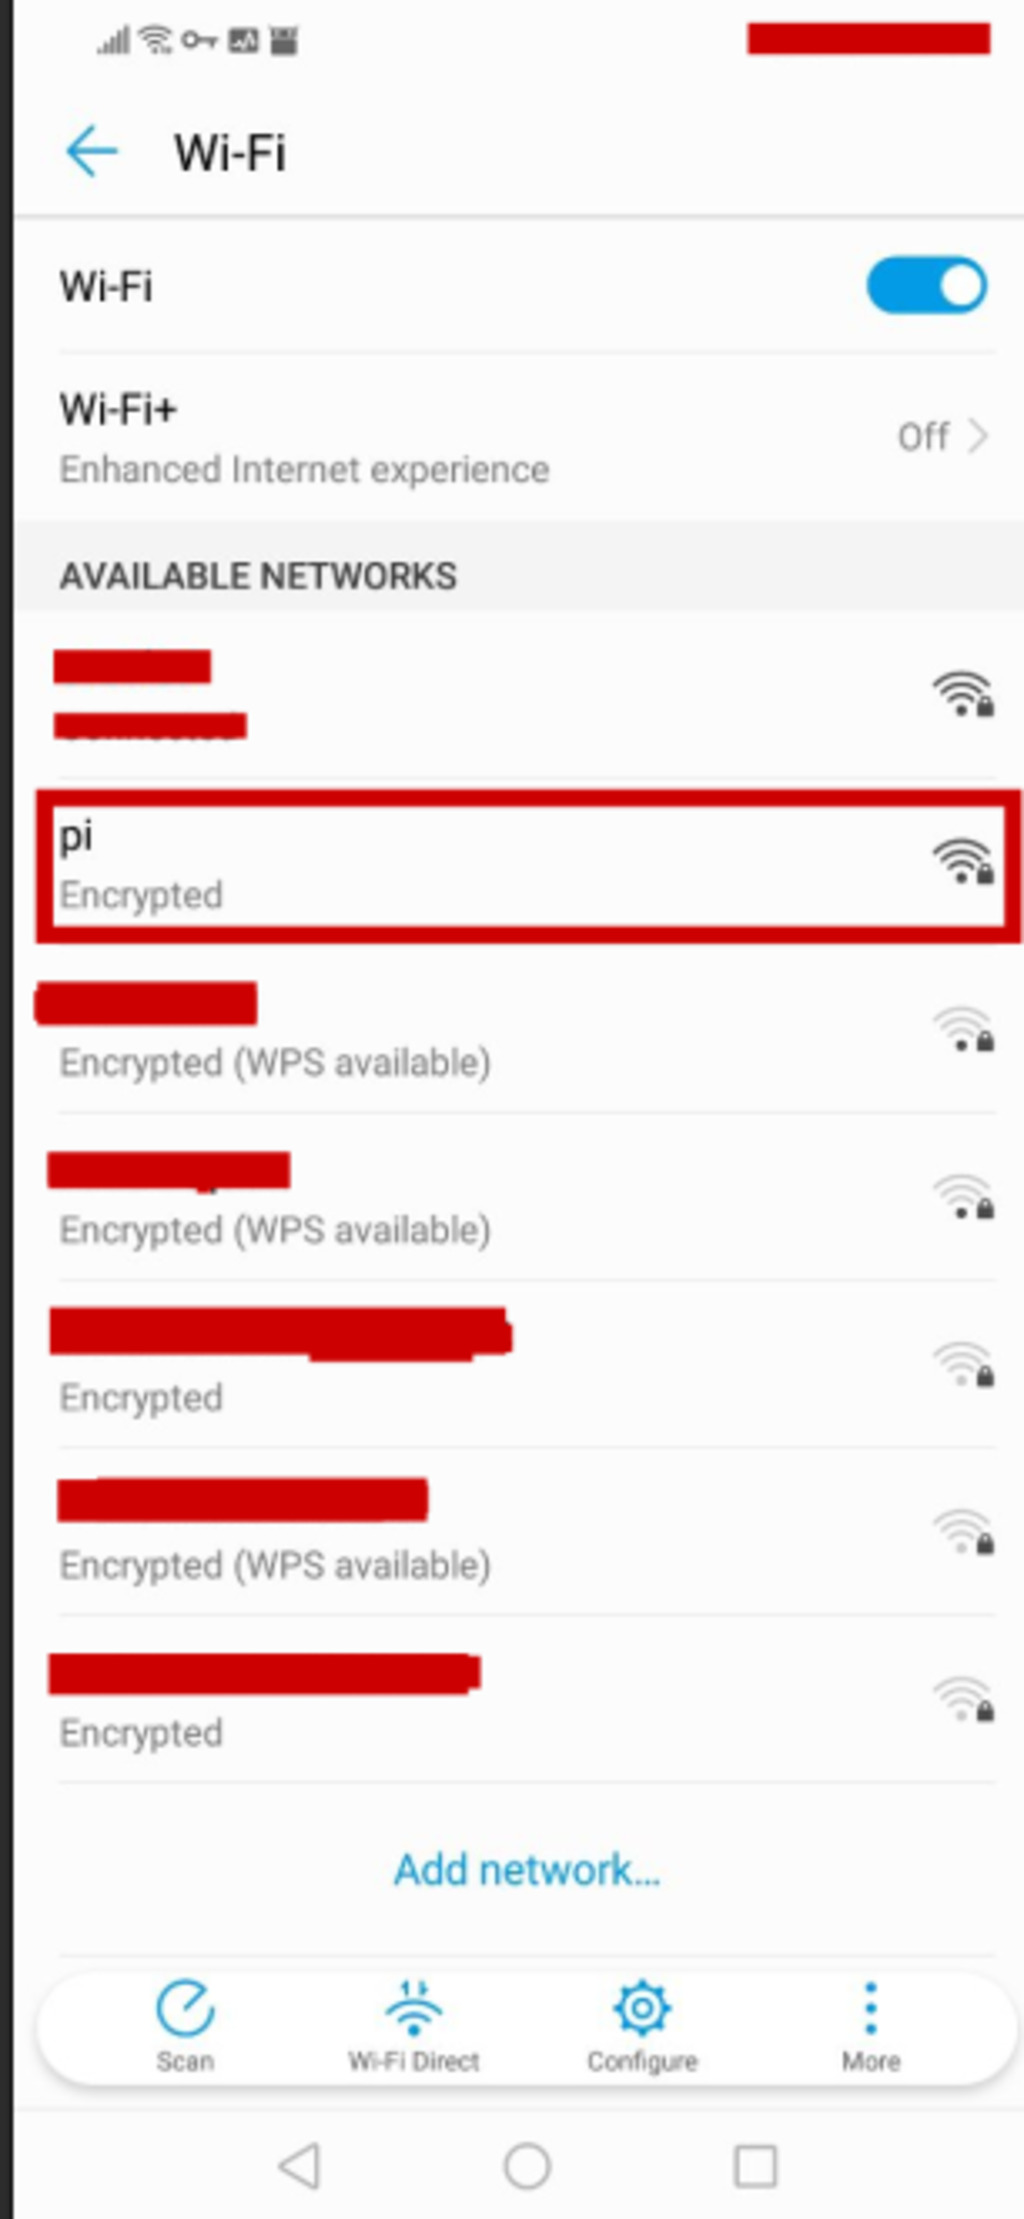
4 . To enable the built-in WiFi on the Raspberry Pi as an access point, you will need to set up and install hostapd and dnsmasq for network management services.
1
2
apt-get remove hostapd-wpe
apt-get install hostapd dnsmasq
5 . Enable the wireless access point service and set it to start when your Raspberry Pi boots:
1
2
sudo systemctl unmask hostapd
sudo systemctl enable hostapd
6 . By configuring the Raspberry Pi as a WiFi access point, it can provide wireless network connectivity to other devices. Please create a hostapd.conf config file using the template format provided. Don’t forget to replace the “SSID” and “wpa_passphrase” with your desired network name and password respectively.
1
sudo nano /etc/hostapd/hostapd.conf
Then add the following:
1
2
3
4
5
6
7
8
9
10
11
12
13
country_code=GB
interface=wlan0
ssid=NameOfNetwork
hw_mode=g
channel=7
macaddr_acl=0
auth_algs=1
ignore_broadcast_ssid=0
wpa=2
wpa_passphrase=AardvarkBadgerHedgehog
wpa_key_mgmt=WPA-PSK
wpa_pairwise=TKIP
rsn_pairwise=CCMP
7 . To configure the network interface for wlan0, follow these steps:
Open a terminal on your system and enter the following command to access the network interfaces configuration file:
1
sudo nano /etc/network/interfaces
1
2
3
4
5
allow-hotplug wlan0

iface wlan0 inet static
    address 192.168.4.1
    netmask 255.255.255.0
Here, we are setting up the wlan0 interface with a static IP address of 192.168.4.1 and a netmask of 255.255.255.0. Adjust these values as per your specific network requirements.
8 . To configure the static IP address, edit the configuration file for dhcpcd with:
1
sudo nano /etc/dhcpcd.conf
1
2
3
interface wlan0
    static ip_address=192.168.4.1/24
    nohook wpa_supplicant
9 . Configure the DHCP and DNS services for the wireless network
1
sudo nano /etc/dnsmasq.conf
Then add the following:
1
2
3
4
5
6
interface=wlan0 # Listening interface
dhcp-range=192.168.4.2,192.168.4.20,255.255.255.0,24h
                # Pool of IP addresses served via DHCP
domain=wlan     # Local wireless DNS domain
address=/gw.wlan/192.168.4.1
                # Alias for this router
10 . Make sure wifi is not blocked by rfkill
1
sudo rfkill unblock wlan
11 . (Optional) To further enhance power efficiency on your Raspberry Pi, you can modify the configuration file by following these steps:
1
sudo nano /boot/config.txt
add the following:
1
2
3
4
5
6
7
8
9
10
11
12
13
14
15
16
17
[all]
dtoverlay=disable-b
arm_freq=900
arm_freq_max=900

[pi4]
# Disable the PWR LED
dtparam=pwr_led_trigger=none
dtparam=pwr_led_activelow=off
# Disable the Activity LED
dtparam=act_led_trigger=none
dtparam=act_led_activelow=off
# Disable ethernet port LEDs
dtparam=eth_led0=4
dtparam=eth_led1=4
# Disable HDMI output
hdmi_blanking=1
12 . Make a reboot, our wireless access point becomes automatically available
1
sudo systemctl reboot
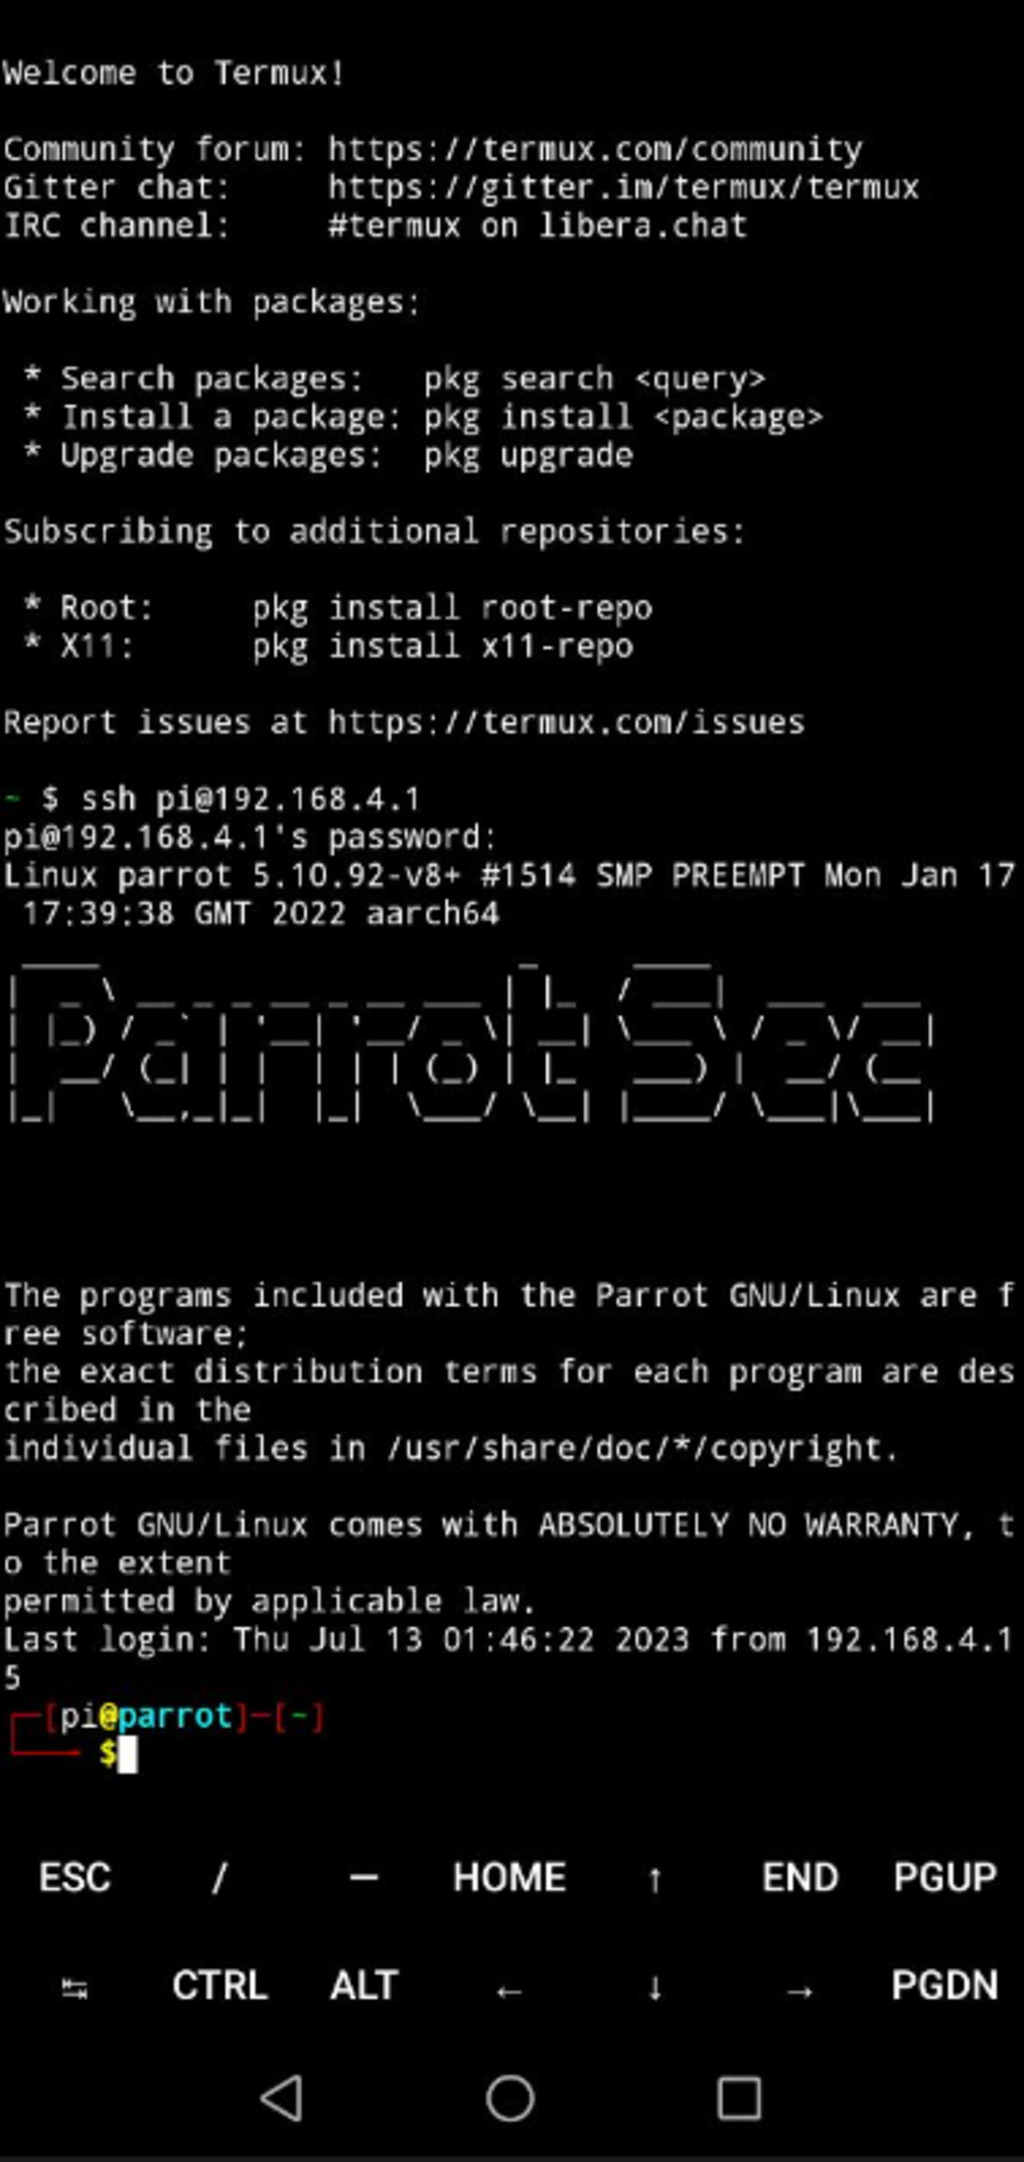
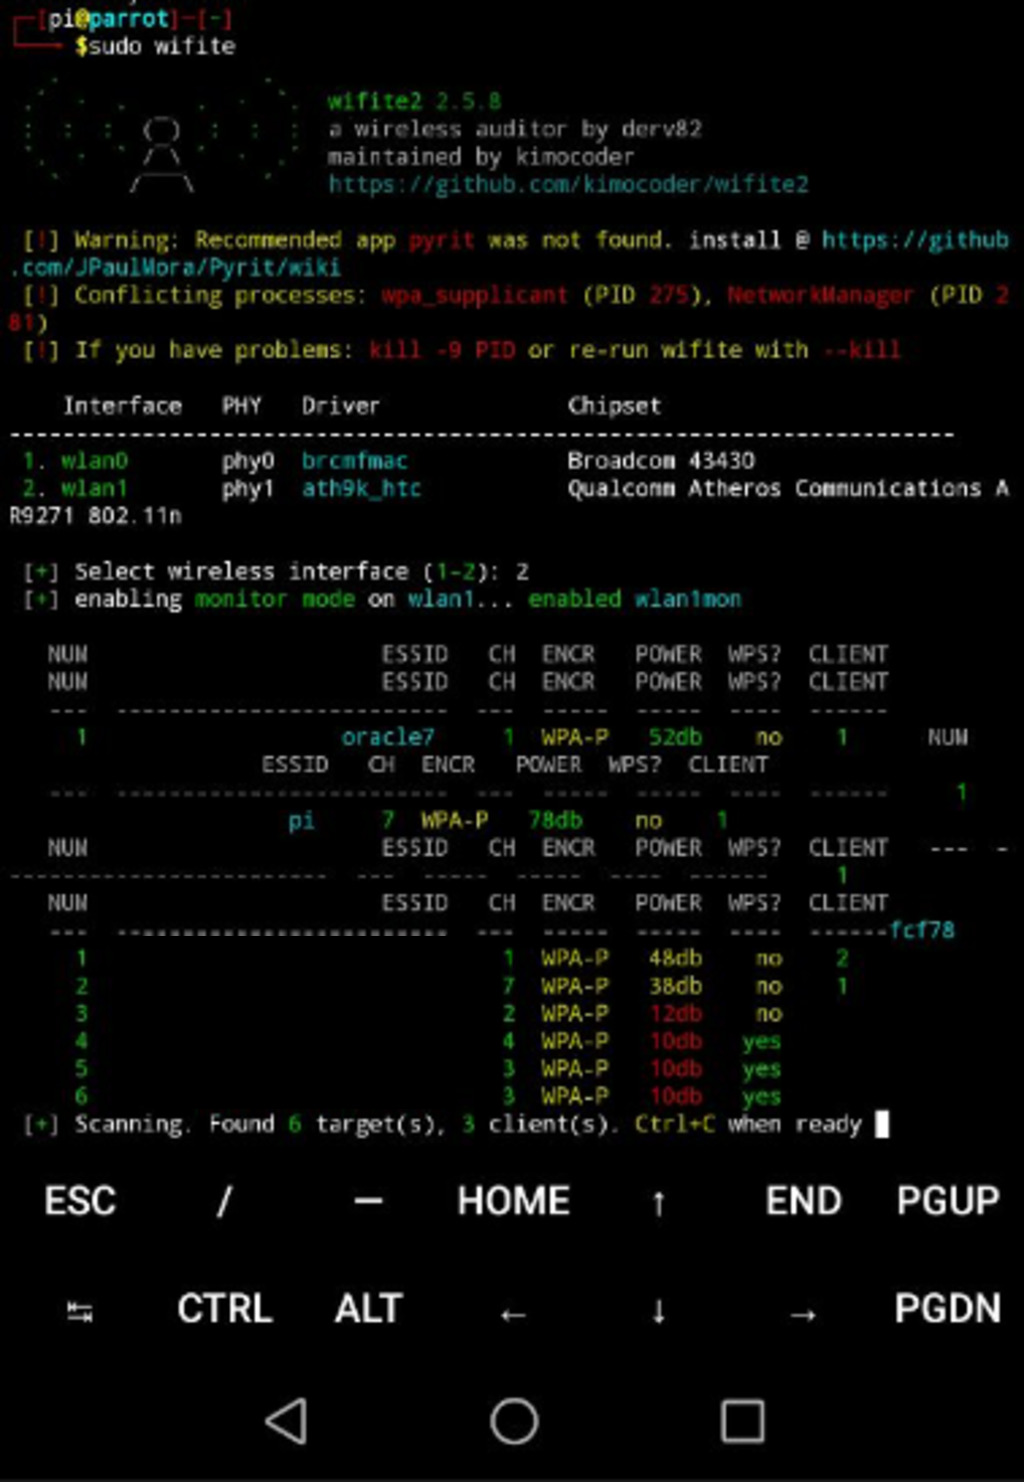
13 . Controlling Raspberry Pi with Termux on Your Phone
With Termux, you can conveniently control your Raspberry Pi from your phone, allowing you to take your tools on the go. such as wifite, wifi-honey and many more.
References
- https://www.raspberrypi.com/documentation/computers/configuration.html#setting-up-a-routed-wireless-access-point
- https://blues.io/blog/tips-tricks-optimizing-raspberry-pi-power/#clock-down-the-cpu


